The goal for this project was to make a Cartesian motion/gantry system with 2.5 degrees of freedom.
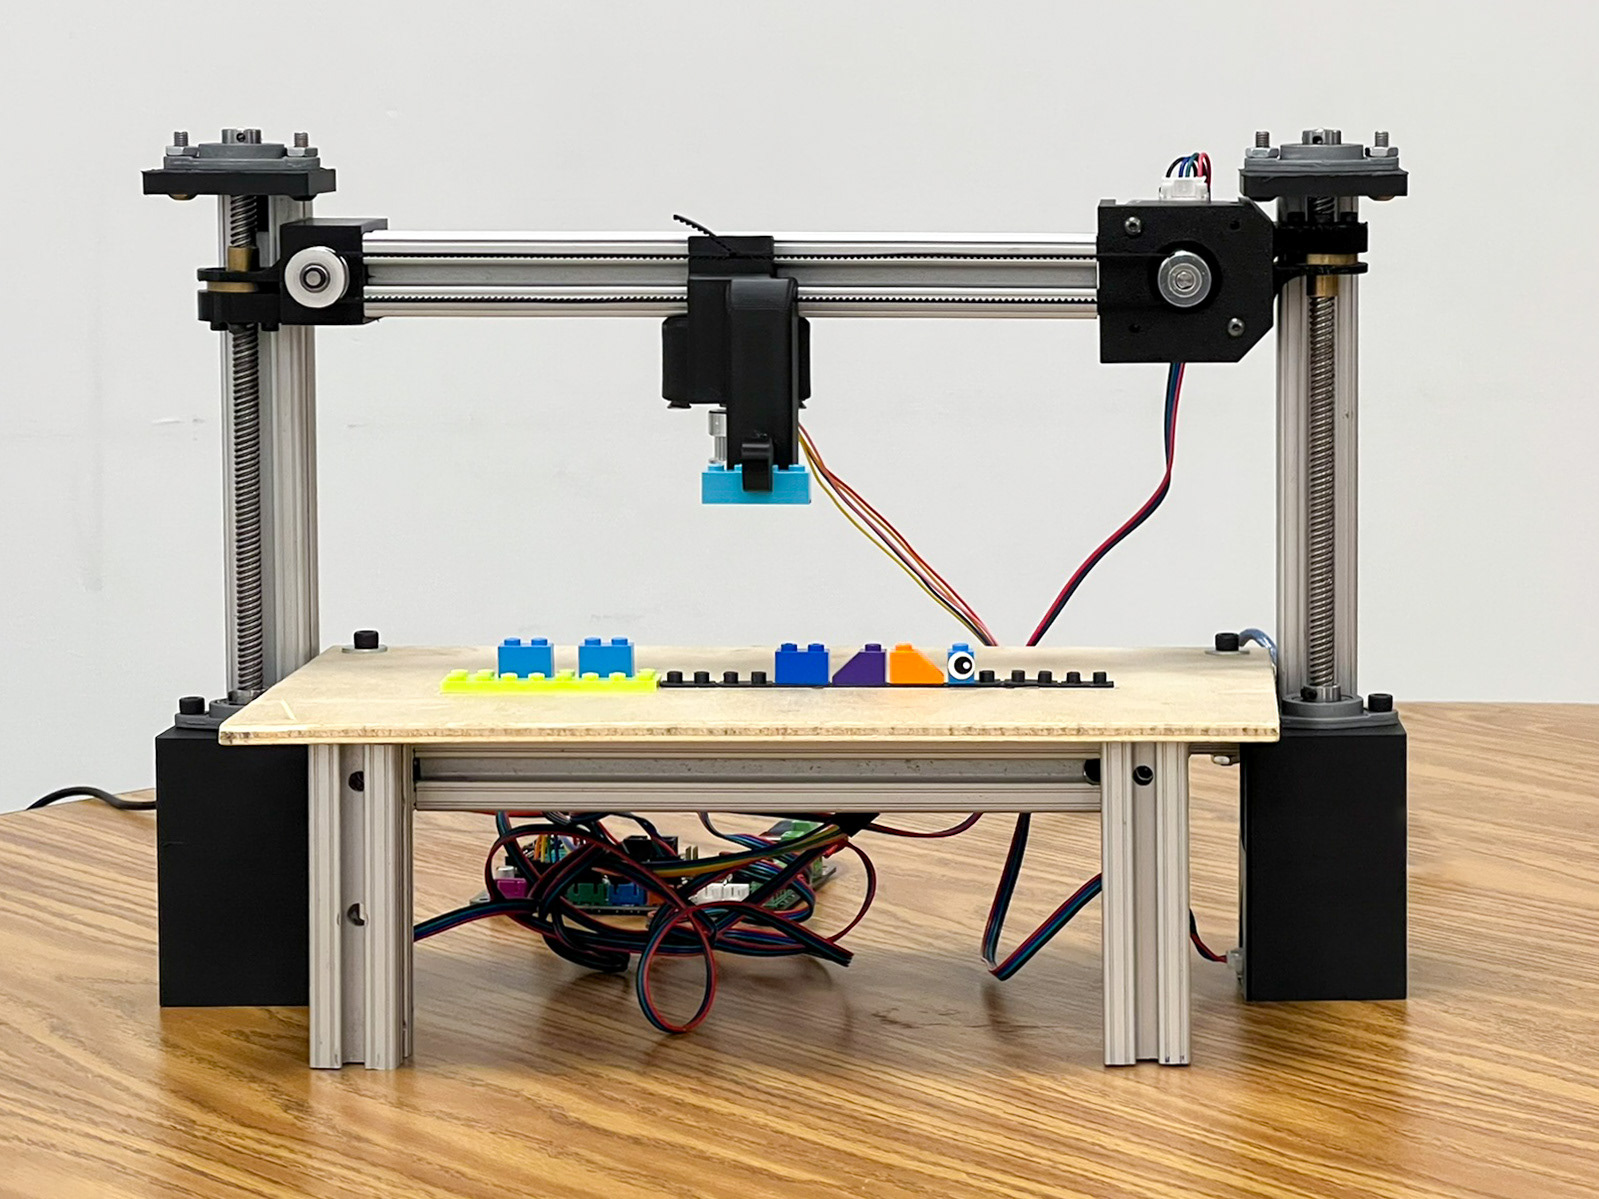
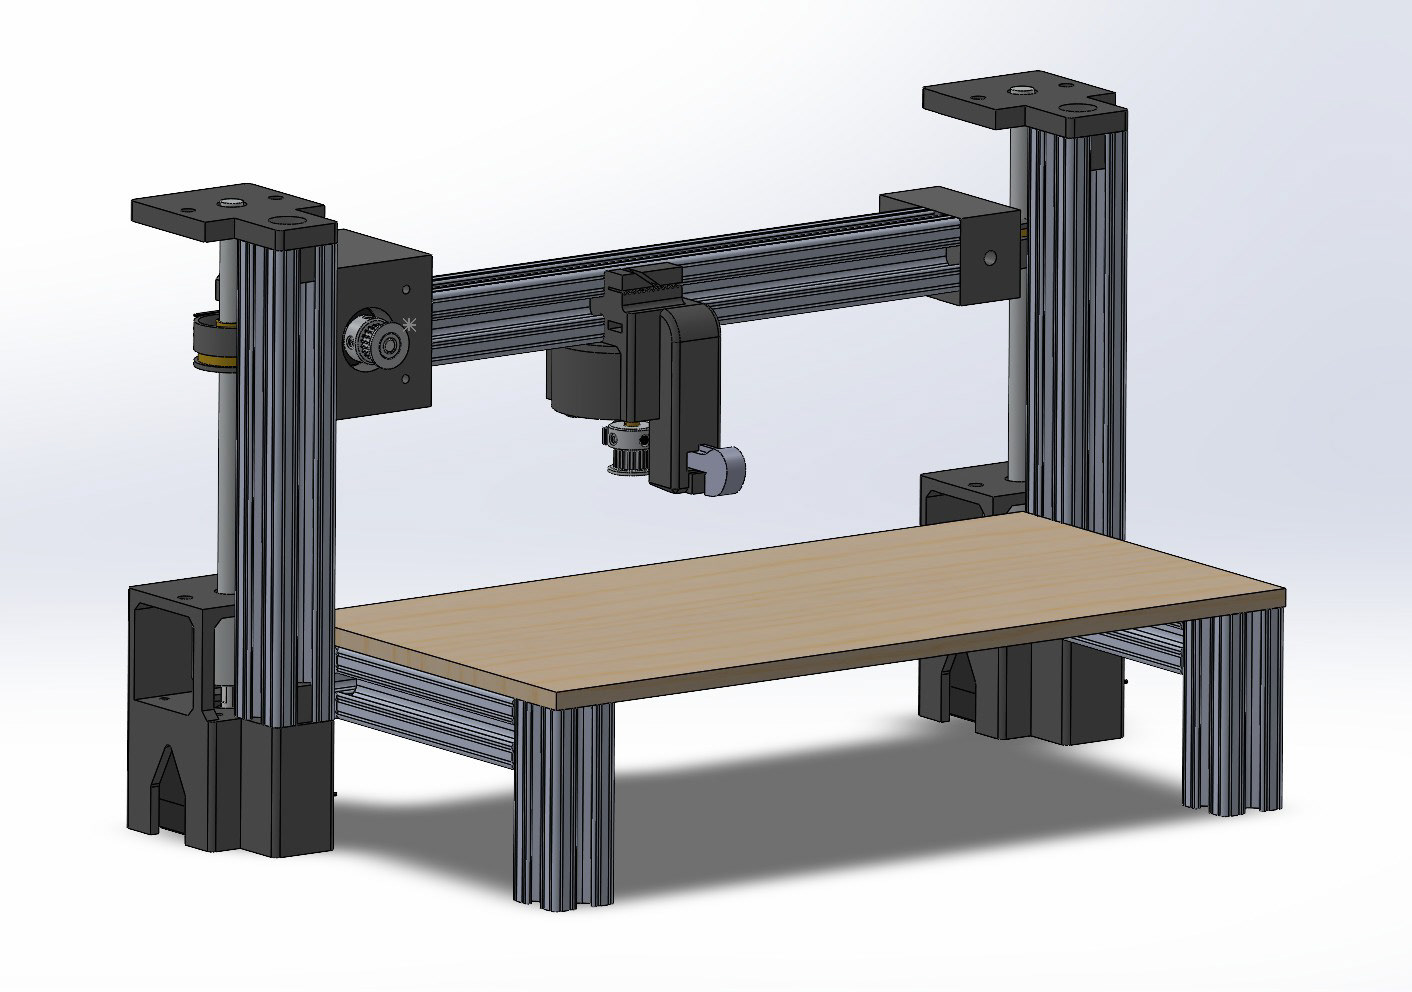
Working with a partner, we designed a machine to stack LEGO bricks, with a vertical/horizontal axis and a mechanical gripper to grab the bricks. Our system uses three linear stages to locate and place each brick. To start, each stage was designed as a subassembly in SolidWorks and the whole system was combined into one assembly to ensure alignment and sub-assembly compatibility.
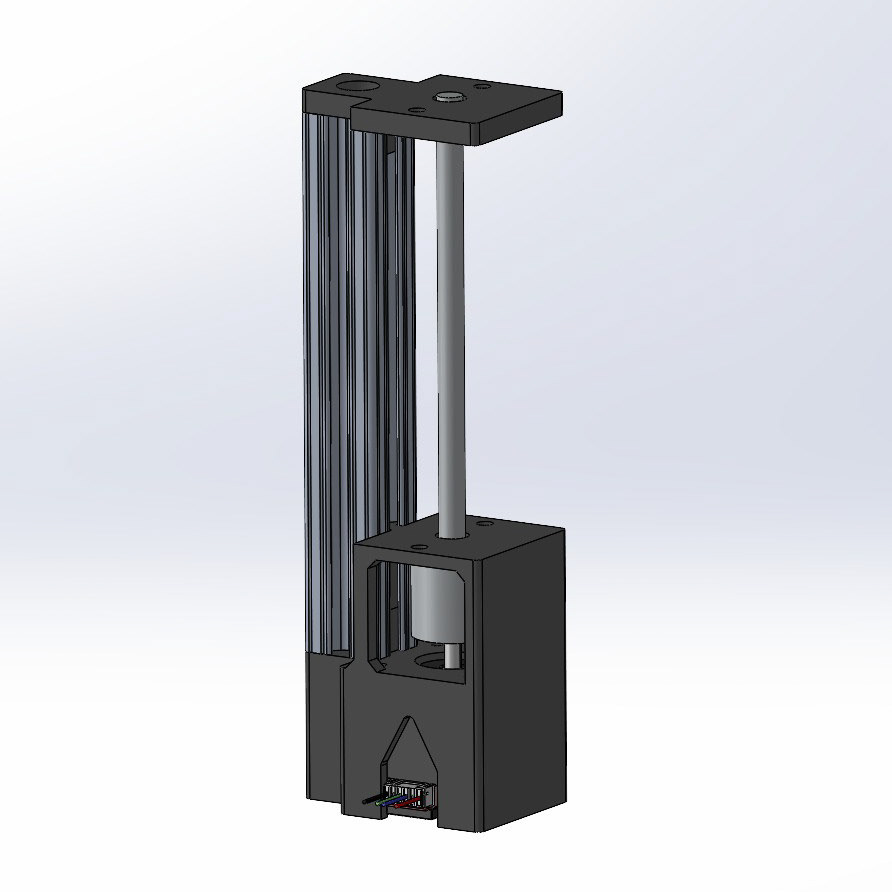
One of the first design challenges we faced was ensuring the vertical stage had enough force to snap LEGO bricks together, while also preventing it from creeping downward under its own weight. To address this, we used two stepper motors with lead screws. The lead screws allow for very precise movements, offering high rigidity and minimal play. They’re supported by bearings both above and below to provide added stability.
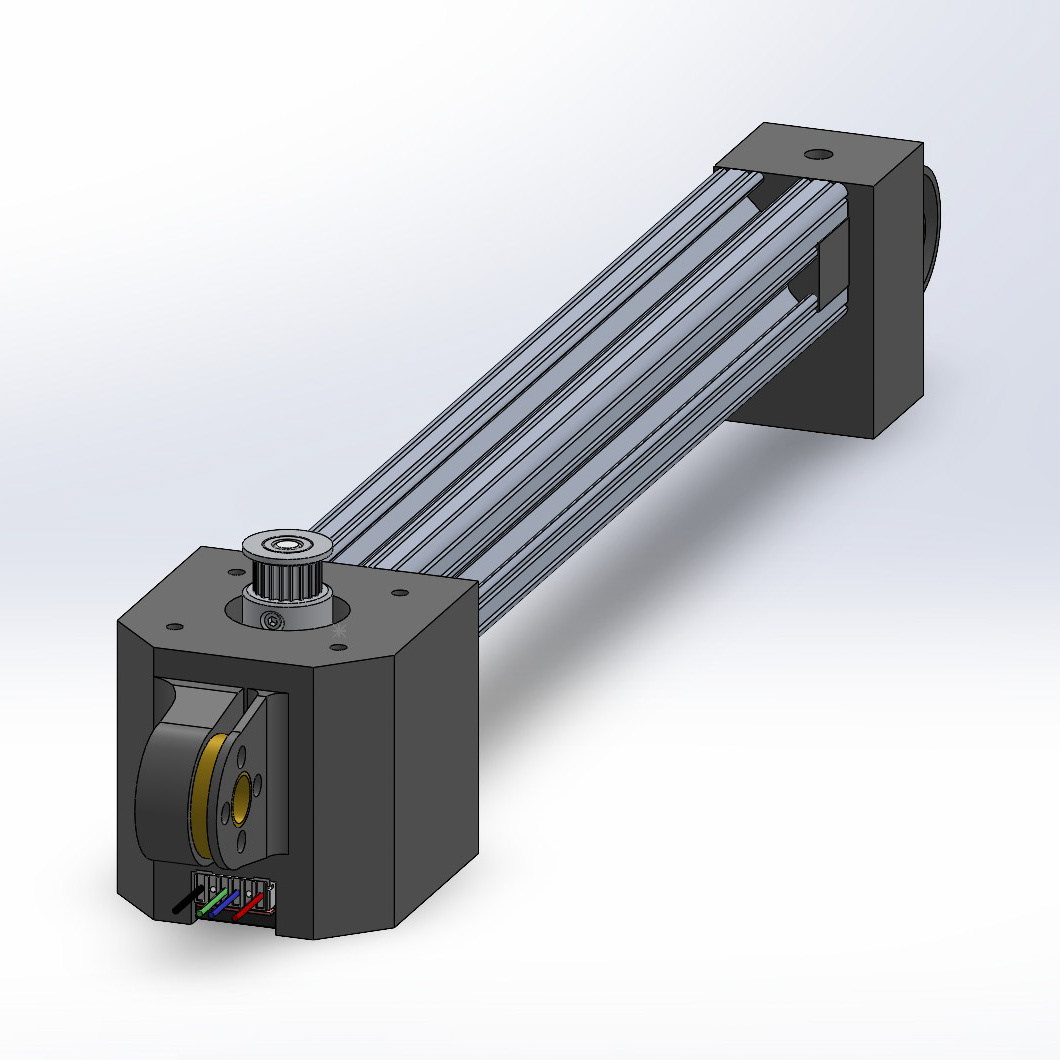
The structure is built from 80/20 aluminum extrusions, which serve both as a frame and as tracks for moving components. The linear stages are driven by Nema 17 stepper motors, chosen for their balance of precision and affordability. All motor mounts and brackets are 3D printed in PLA.
While the vertical motion relies on lead screws for strength and stability, the horizontal axes are driven by GT2 belts and pulleys for faster, smoother movement. The control system uses a MakerBot 3D printer circuit board, which is designed for cartesian motion and compatible with our stepper motors. The system runs on G-code, uploaded via Repetier-Host, a 3D printer software.
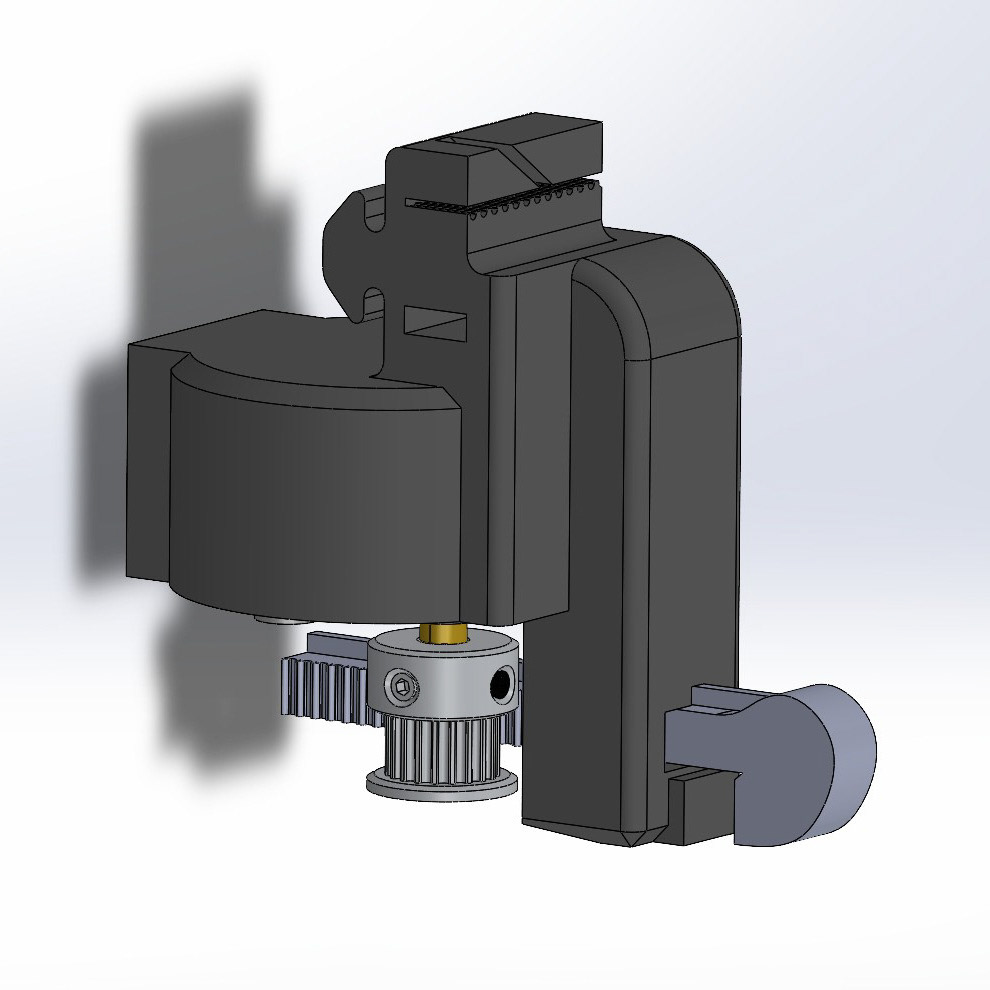
Finally, the brick gripper was designed for simplicity without sacrificing precision. A small toy stepper motor actuates the grip arm, ensuring consistent alignment with the x-axis when grabbing bricks. The gripper has a wide contact with the aluminum extrusion above it. As the system pushes down to snap a brick into place, this contact transfers force directly through the gripper, minimizing play and maximizing placement accuracy.
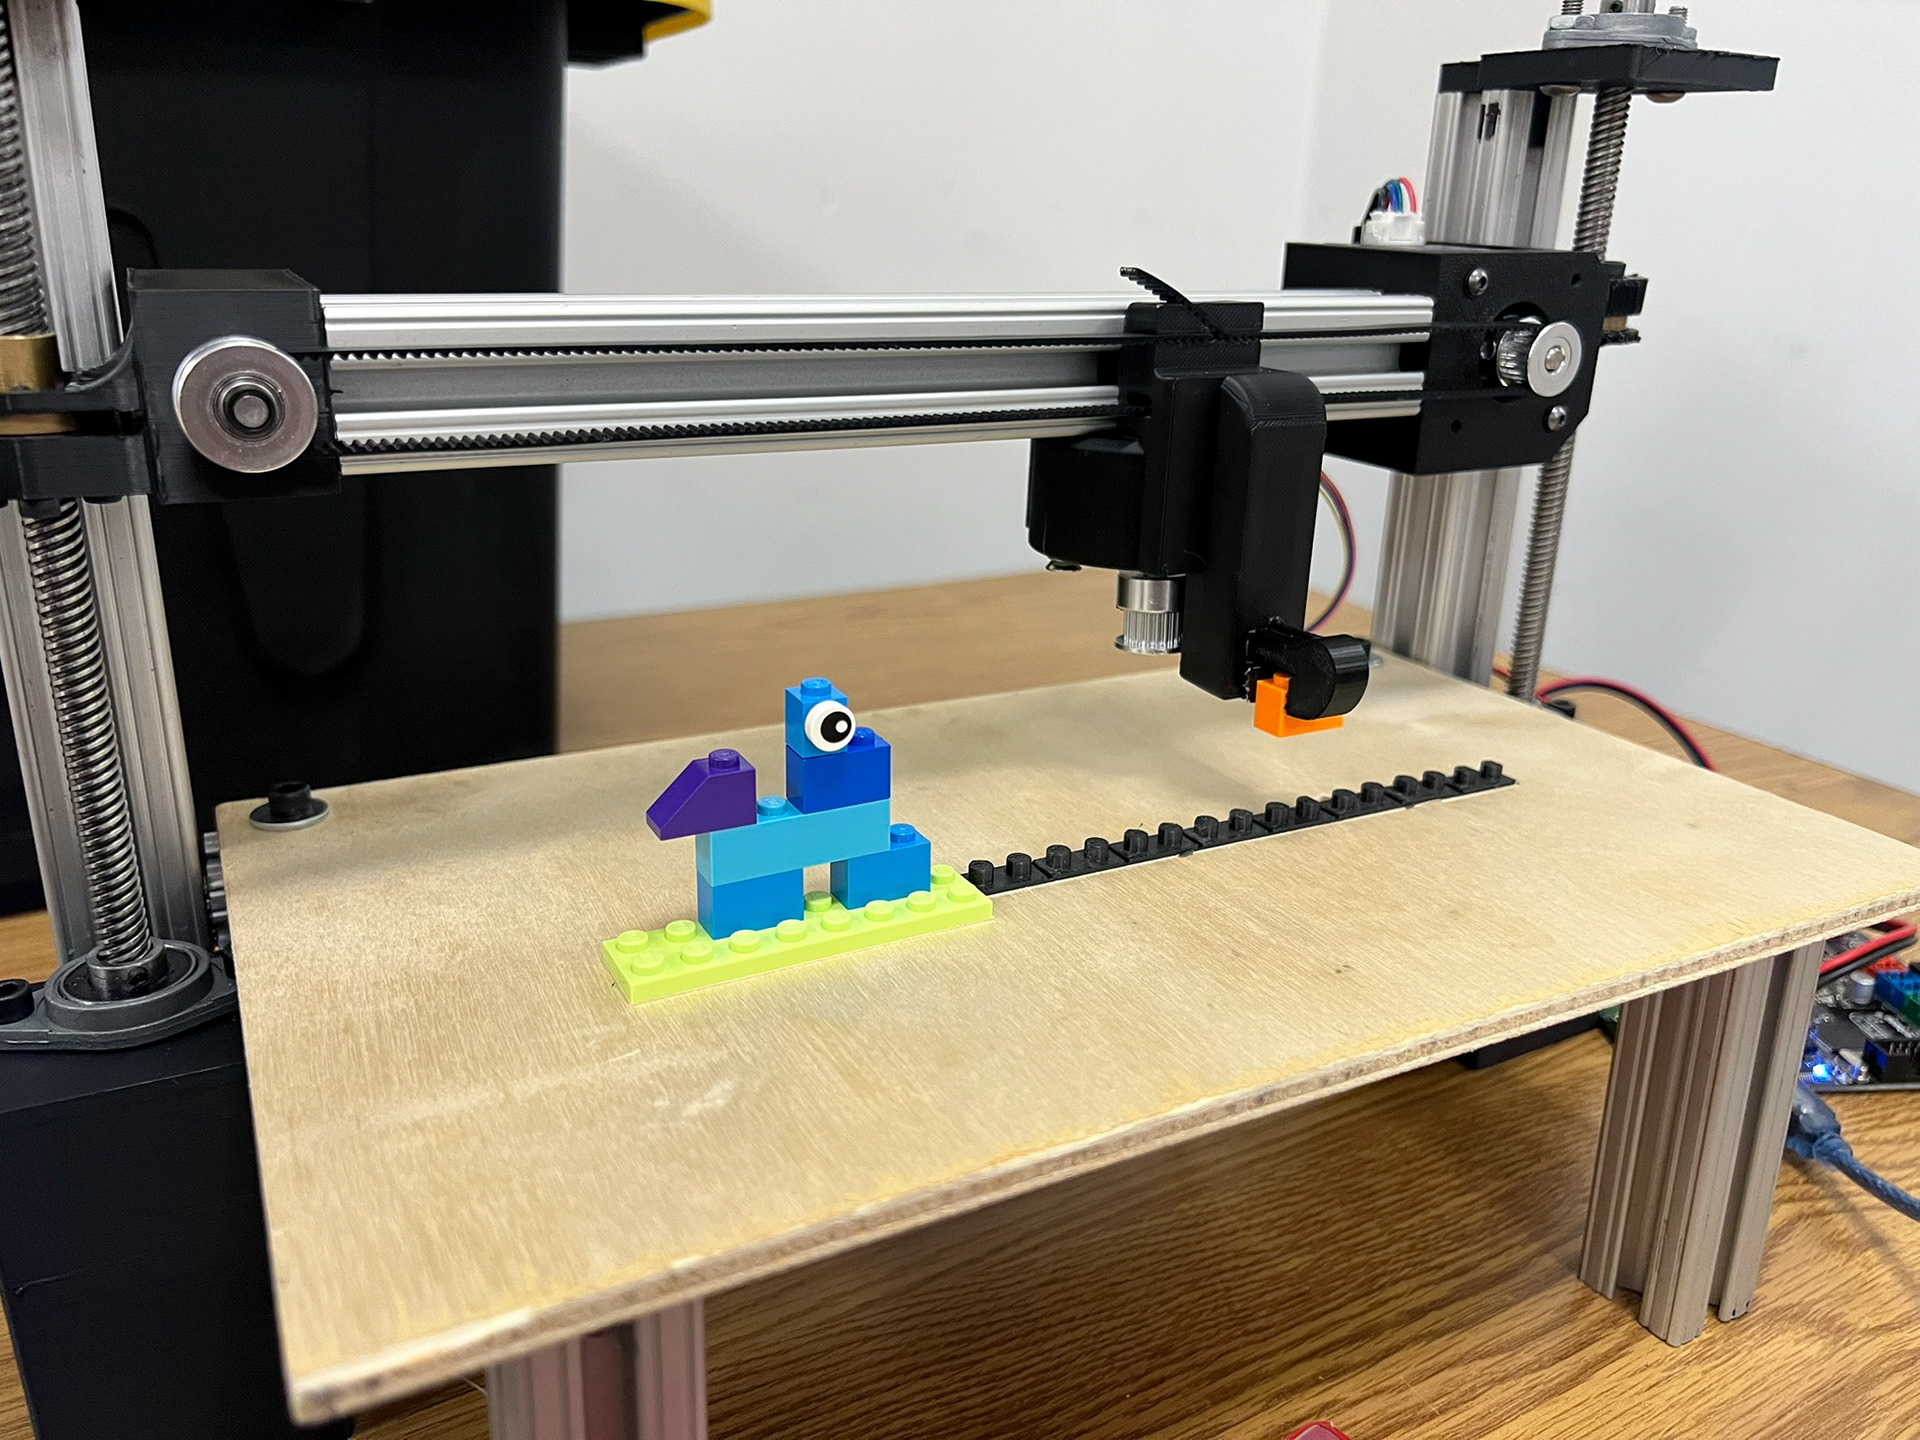
The video above shows one of the first test runs using the system. Initial challenges included a lack of rigidity of the system, and standardizing the starting position of the bricks. To increase the rigidity of the system, we updated the hardware to include locking star-nuts between aluminum joints. To standardize the starting position of each brick, we printed a base with studs to ensure correct alignment for each piece. Additionally, we created a calibration protocol to manually return the gripper to a known zero coordinate if the machine fell out of calibration.
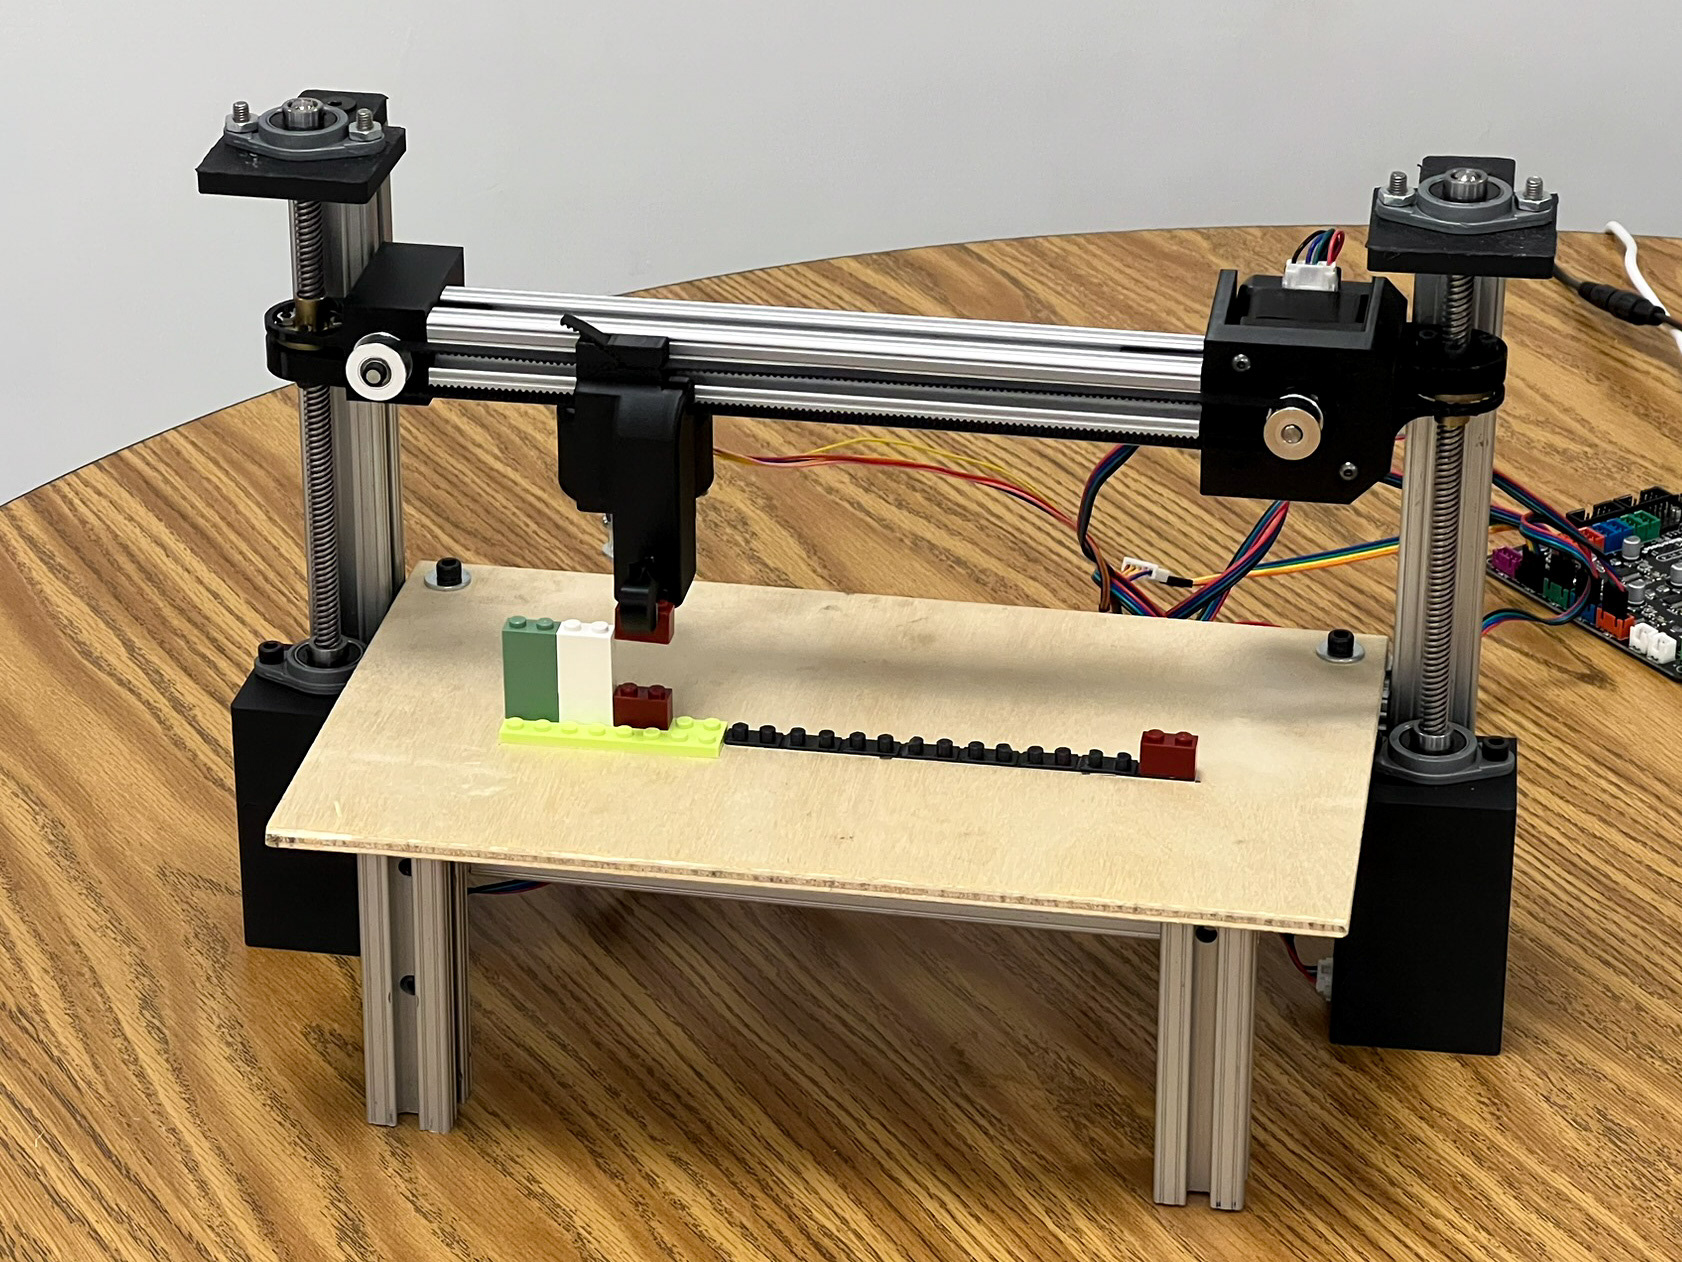
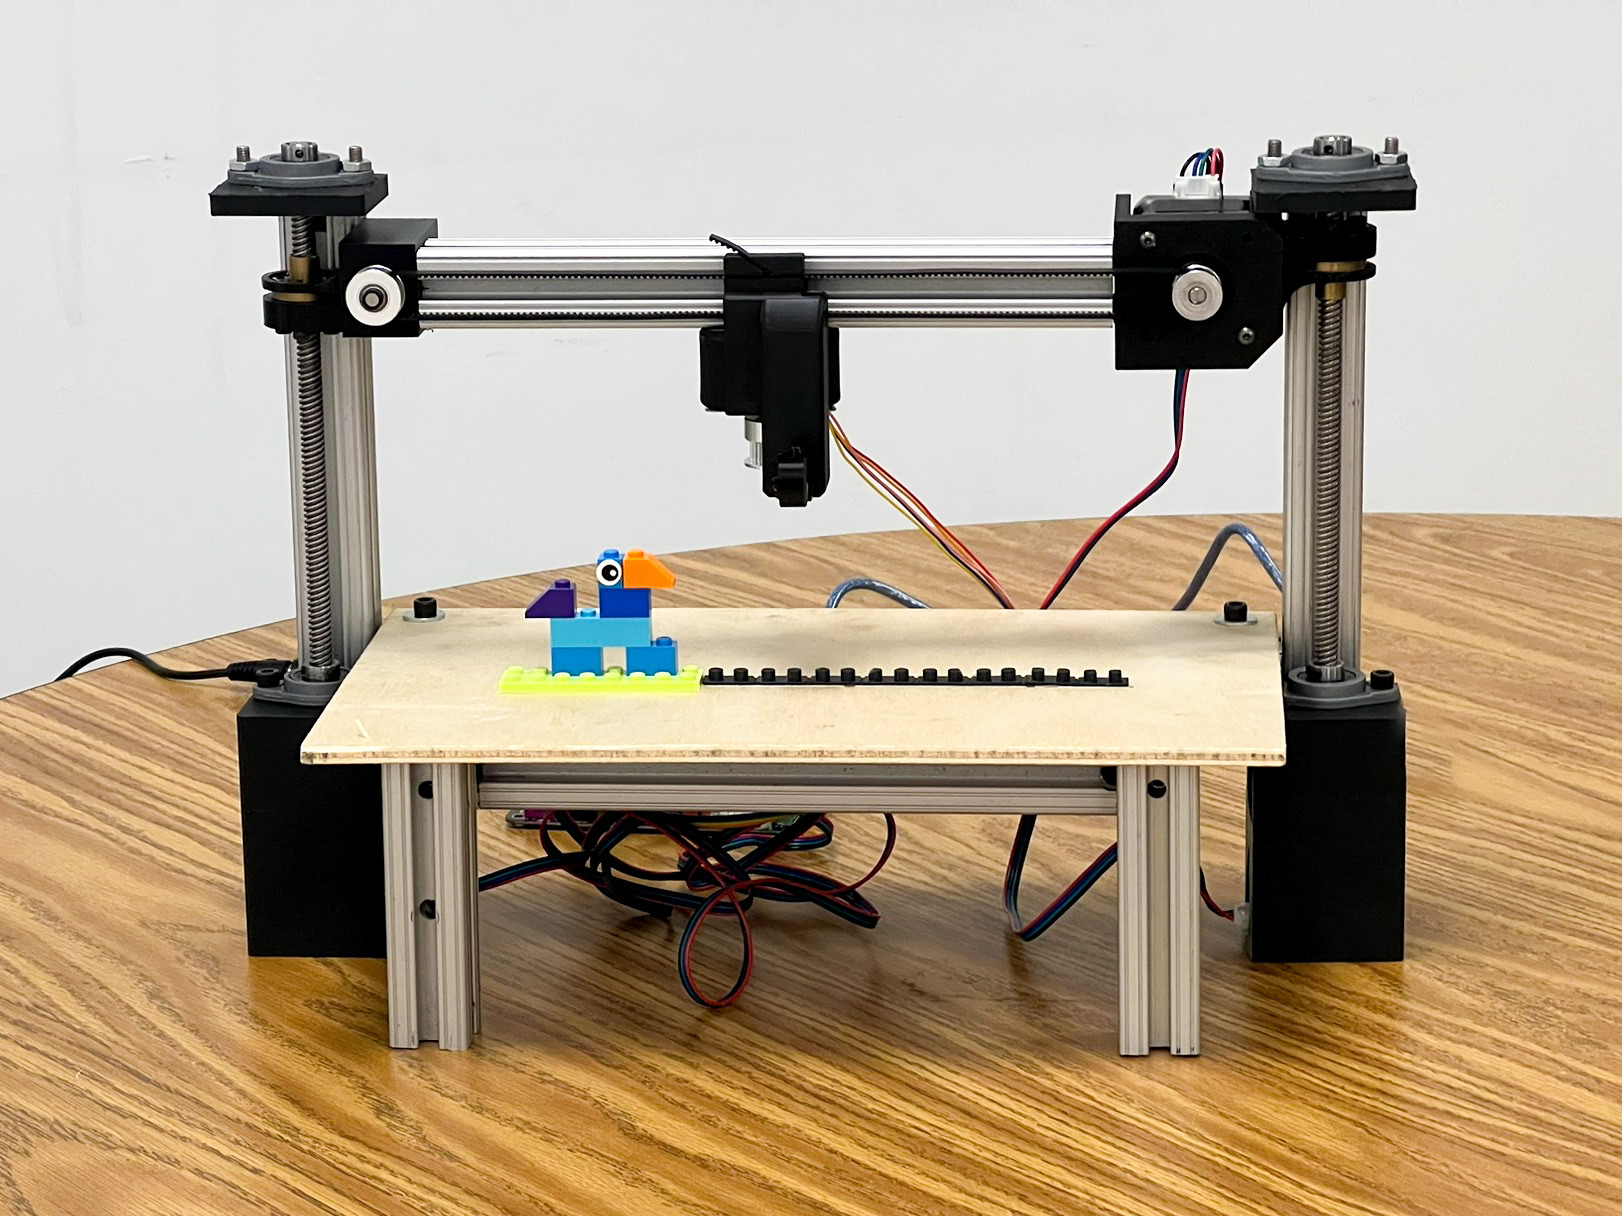
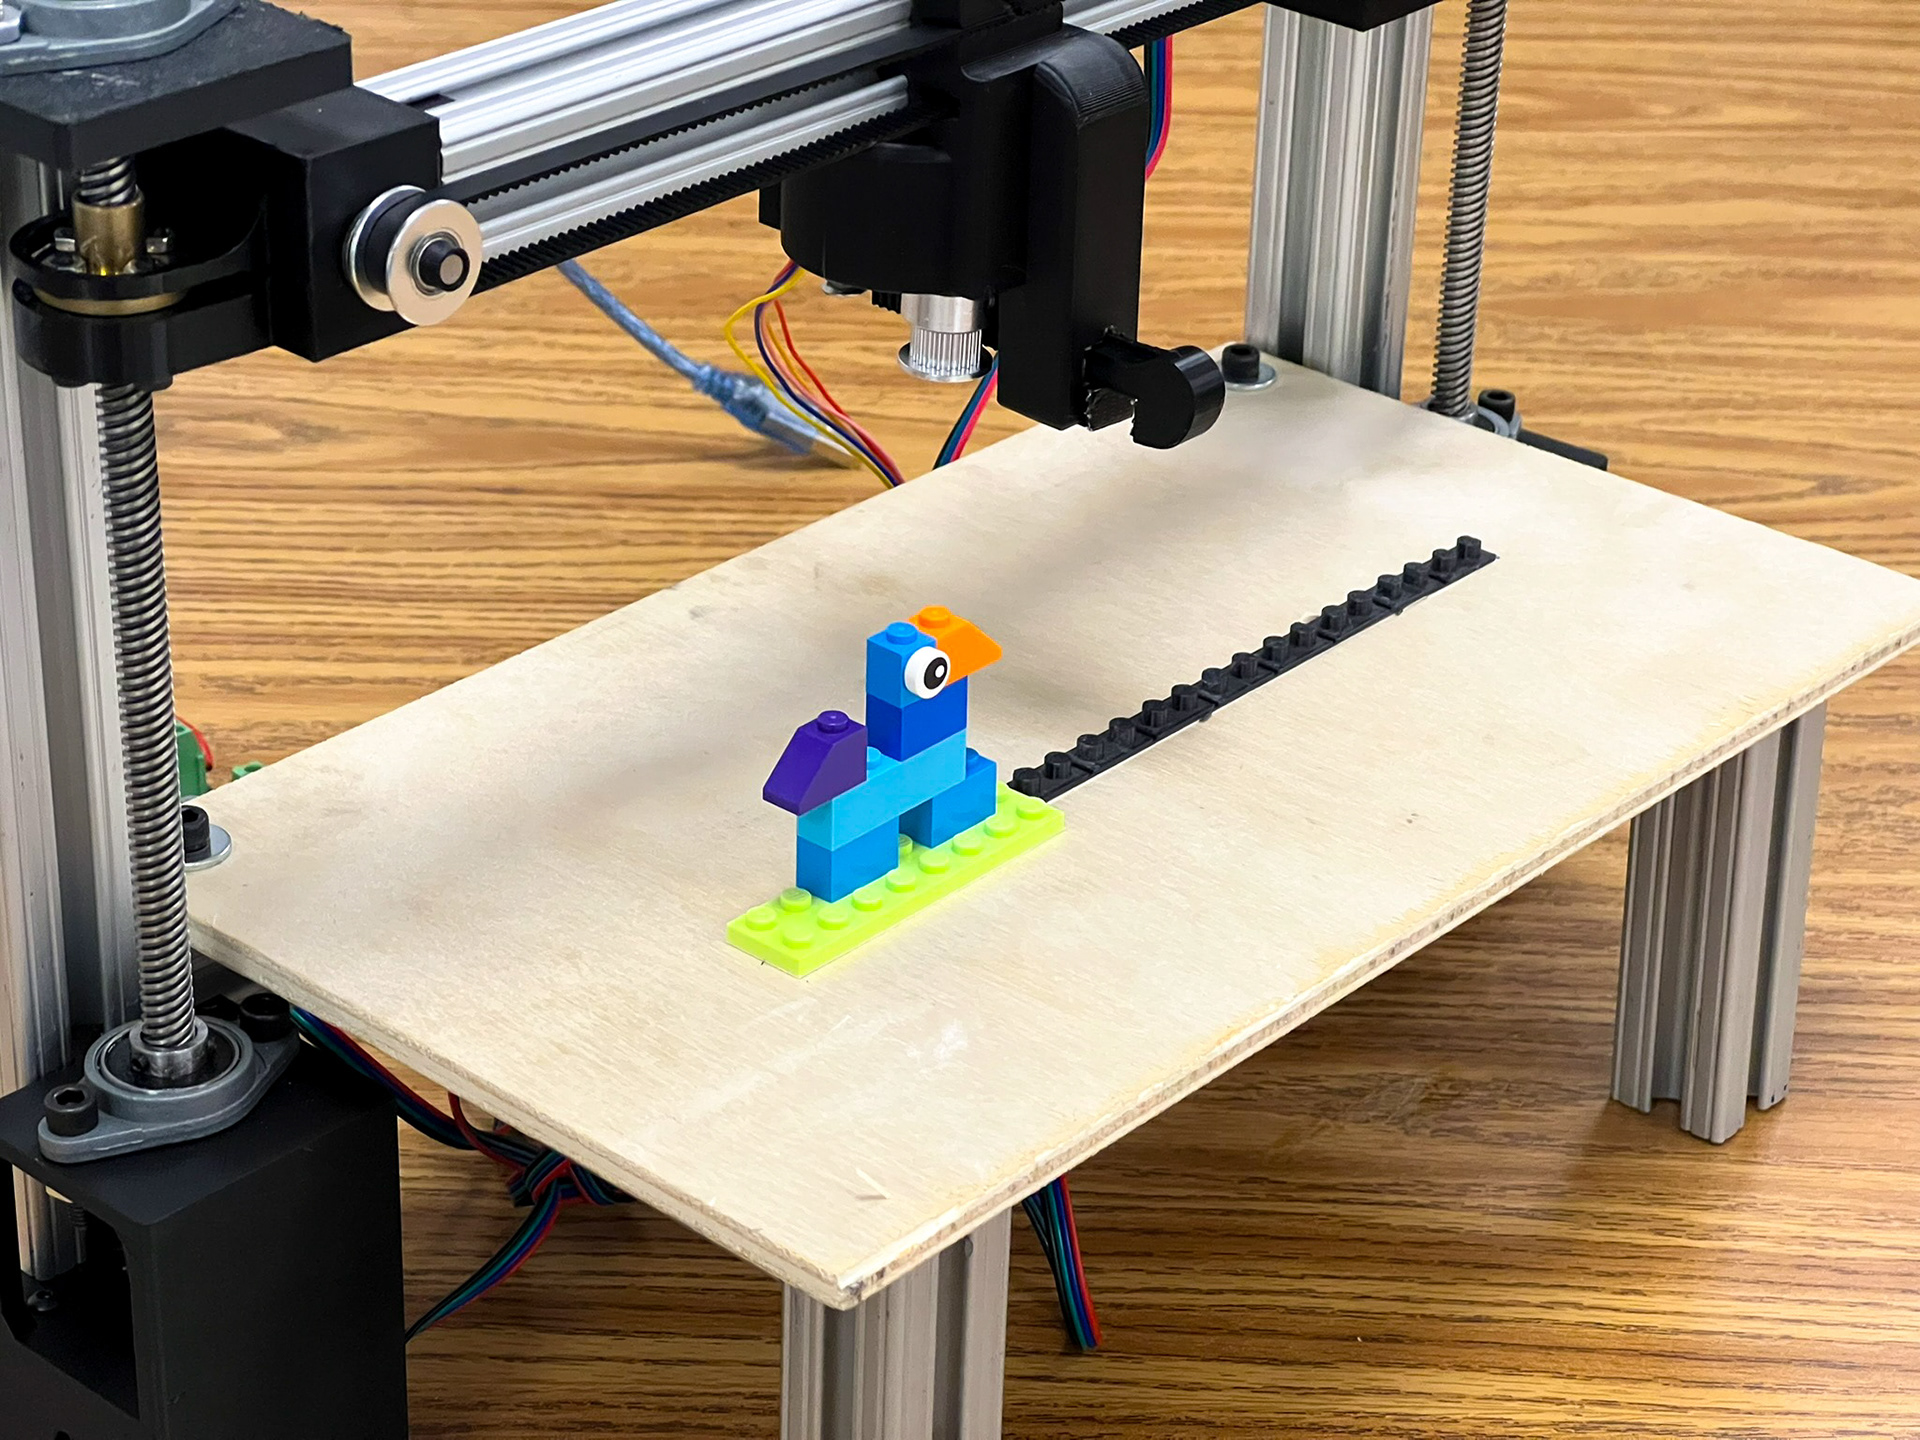
We made a couple basic LEGO assemblies including a bird and the flag of Italy, shown in the videos below. While our machine took about 1 minute to assemble an 8-piece brick assembly at full speed, better precision and quieter operation was achieved running at about half speed. Enhancements to the program could include increasing the speed during longer movements, while returning to a slower speed to click the bricks together in a consistent way.
Future improvements to this system could include adding a third axis of movement. This could be achieved by mounting the wooden platform on linear guides and driving it with a stepper motor and belt system, enabling true 3D LEGO builds. An updated gripper design that interacts only with the studs on top of each brick would allow for more precise placement without interference from surrounding bricks. Additionally, a compact brick-feeding mechanism would improve space efficiency; the current method of arranging bricks in a single horizontal line limits how many can be placed in one session. While these upgrades fall outside the scope of this project, the current system serves as a strong proof of concept for developing more advanced LEGO assembly machines.